GonnaOrder allows you to create and manage reusable Products in your store. As the name suggests, reusable products are products that can act as reference for items or options within the store or across chain stores in a multi-store & multi-catalog setup. These products can save time and effort needed to create related/similar items in a store.
When you link a product to an item or option, the item/option inherits the product details like name, descriptions, translations, image, allergens, nutrients & characteristics, while keeping price and other local settings editable at the Item/Option level. This ensures consistency of item information across the store(s), while giving you the freedom to customize the price based on the store location, purchasing power, among other factors. In this article, we provide a in-depth guide into reusable products, how to create and link them to other items/options across your store(s).
On This Page
- Understanding Reusable Products
- Create Reusable Products Online
- Import or Update Products Via Excel
- Edit a Reusable Product
- Link Product to Store Items
- Link Product to Options
- Which Item/Option Details are Resolved from the Referenced Product?
- Linking Products to Items/Options in a Multi-Store Setup
- Unlink Products from Items or Options
- Delete Products from Your Store
Understanding Reusable Products
Before creating reusable products, you must understand the basics of what they are and how they work to know whether you need them or not. For this reason, we’ll use a simple scenario to explain how these products work.
Scenario
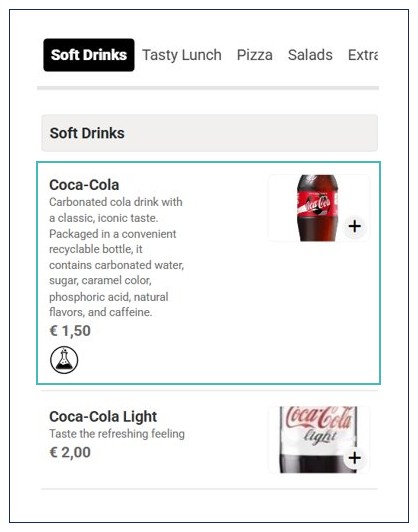
Today, chain stores often sell the same “real-world product” (e.g., Coca-Cola) across many stores. However, they must duplicate content such as descriptions, translations, allergens, and nutrients multiple times. This causes inconsistency and high maintenance cost, while prices still need to differ per store.
In such a setup, a chain can define Coca-Cola once as a Product (with image, translations, allergens, nutrients, etc.). Each store can then create its own Item/Option that references this Product (Coca-Cola) and only overrides the price and other local selling settings. When the Product content is updated at the source, all referencing Items/Options immediately reflect the change everywhere (i.e., Customer UI, basket, order views, reporting APIs), without copying content into the child records. The outcome? Fast and convenient catalog updates while maintaining a consistent catalog.
Create Reusable Products Online
GonnaOrder allows you to create reusable products online. Here are the steps to follow to create reusable products in your store:
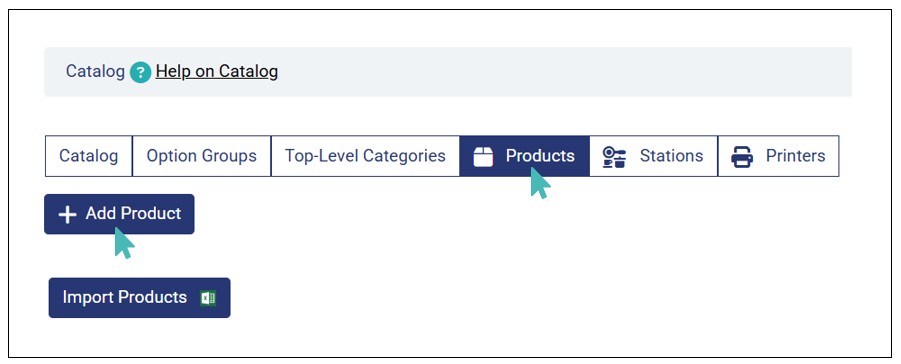
- Login to your store and click Catalog on the side menu.
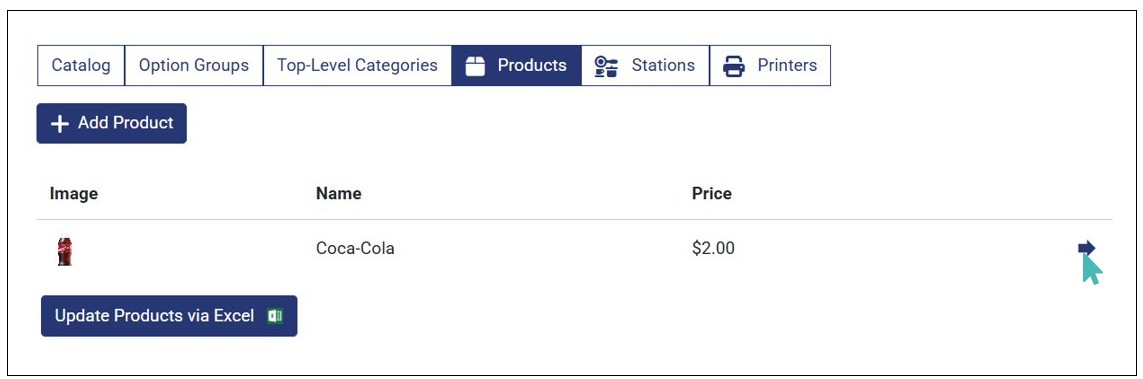
- Next, click the Products tab and Add Product.
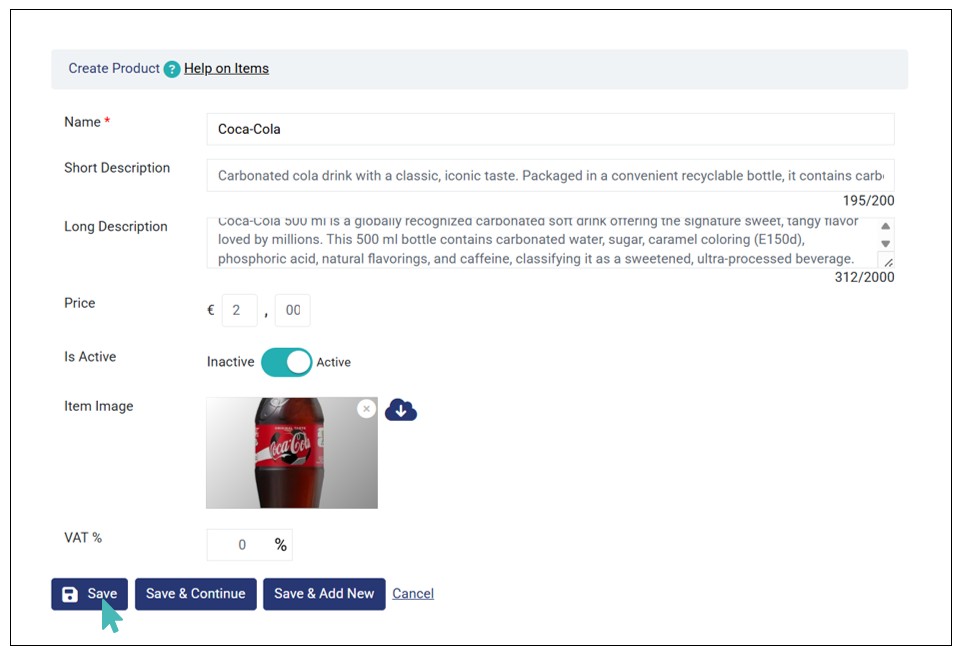
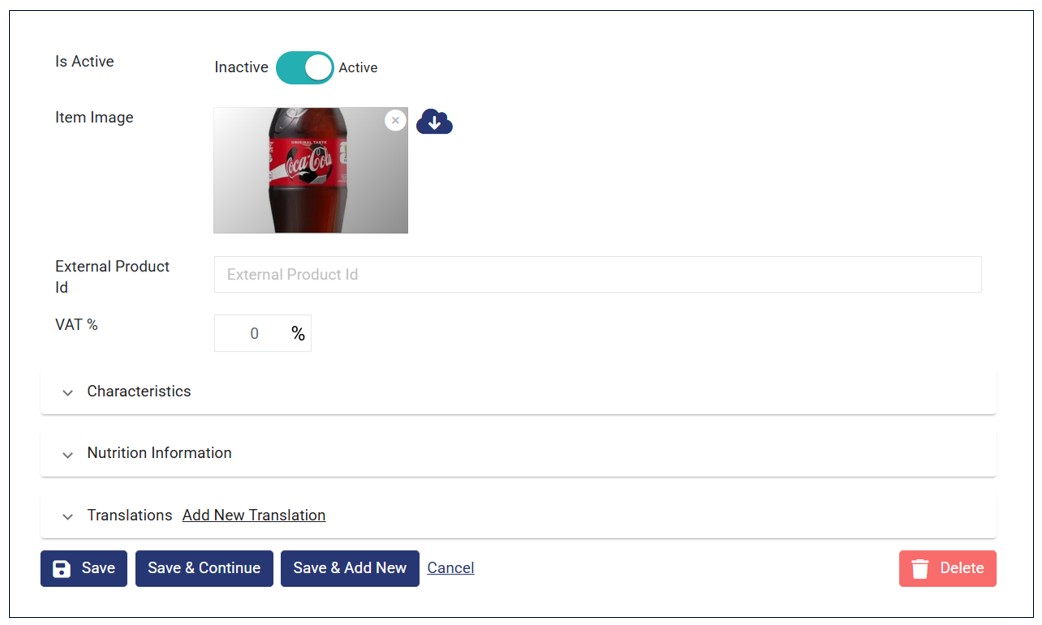
- Enter your product details on the product creation page and click Save. Here, you can provide the following details:
- Name – the only mandatory field.
- Short Description
- Long Description
- Price
- Is Active status
- Item Image
- VAT
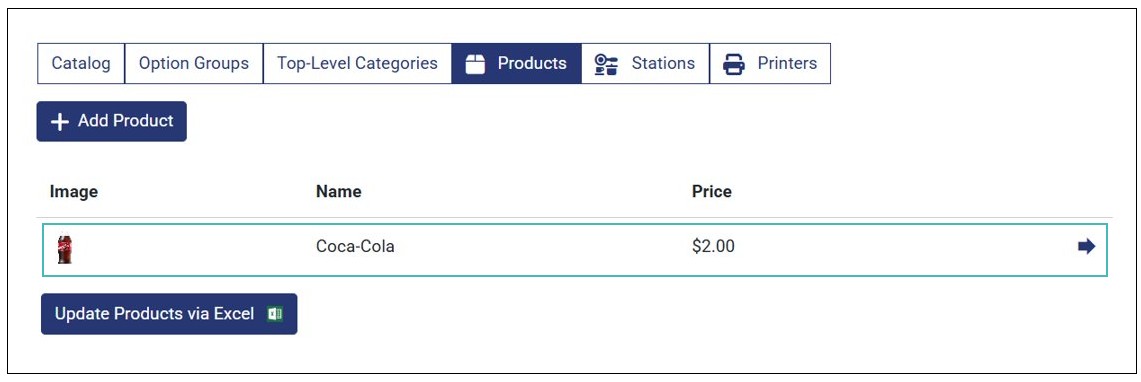
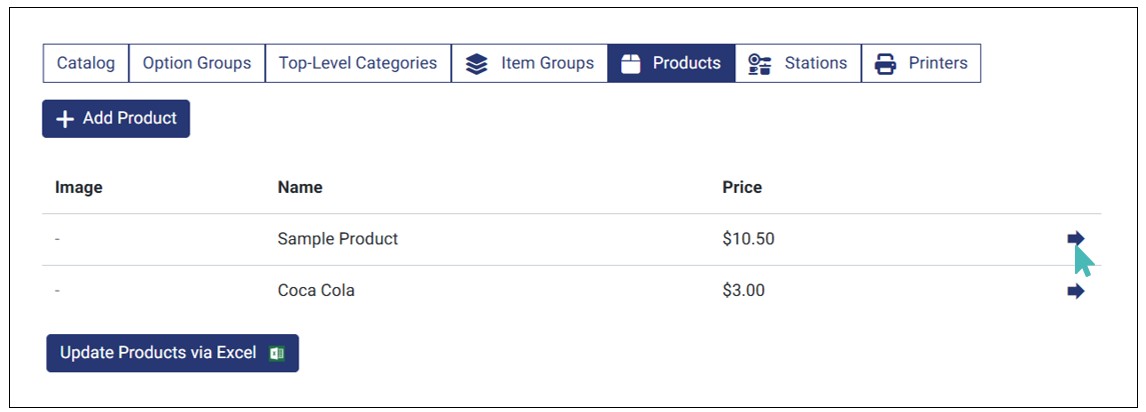
- Once created successfully, the product is visible under the Products tab.
Import or Update Products Via Excel
Another way to create reusable products is via Excel. This method allows you to create and/or update multiple products at a go, saving time and effort needed to create many products. Here are the steps to follow to import or update products via Excel.
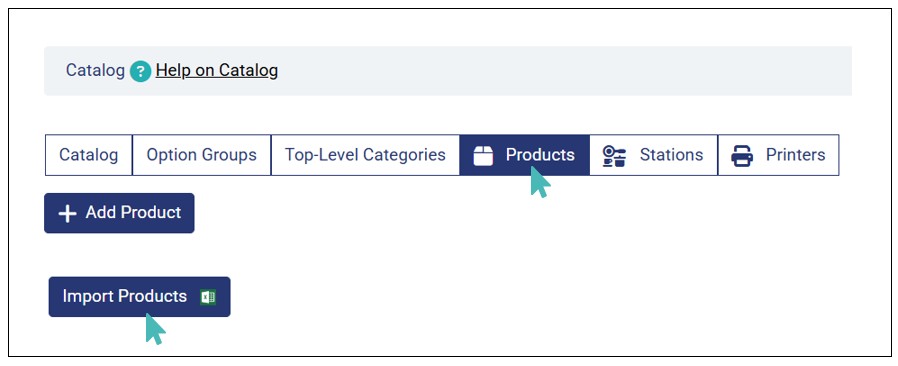
- Login to your store and click Catalog on the side menu.
- Click the Products tab to open the product list (if any exists) and then tap the Import Products button. If you have existing product(s), the button is labeled Update Products via Excel.
- Next, download the Products Excel template by clicking the Excel icon on the instructions provided.
- Input the products data (i.e., name, descriptions, price, etc.,) on the Excel file and save the changes. Note that only the Name field is mandatory when creating products.
- Upload the updated Excel template to your store by click Choose File and selecting the updated Excel file.
- Preview the product(s) created and if satisfied, click Accept and Import Products to complete the product import process.
- You can view the list of products created/updated on the Products tab. Therefore, these product can be linked to items/options within and beyond the store (in multi-store setups).


Edit a Reusable Product
You can edit a reusable product to update its details (listed in the previous section) or add more information to match your requirements. Simply click the item from the Products list to edit its details.
Once the edit product page opens, you can update any/all fields provided on the product creation page. Also, you can perform several other actions, such as adding:
- External product ID – for external integrations.
- Characteristics. Here, you can specify the product characteristics, such as allergen information in the product (e.g., Sugar Free, Halal, Vegetarian, etc.,). See more about characteristics and allergen information. The characteristics you select here will apply on all items/options referenced to the product
- Nutrition information. This is where you can specify the nutritional value of the product, that is Calories, Proteins, Net Carbs, and Total Fat. See more about adding nutrition information. The values you provide here will apply on all items/options referenced to the product.
- Translations. Here, you can add the product translation for different languages.
Link Product to Store Items
Once you create your reusable products, you can link them to new and existing menu items. To do so, follow these steps:
- Open the store item (for existing menu items/options) you’d like to link to a product from the catalog. If you’re creating a new item, click Add Item to open the item creation page.
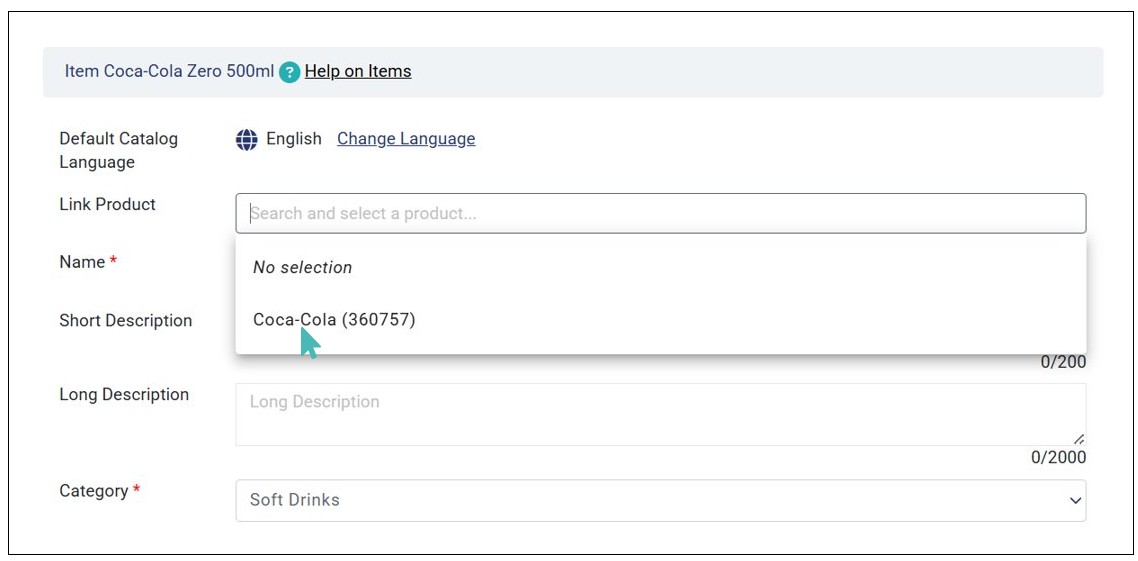
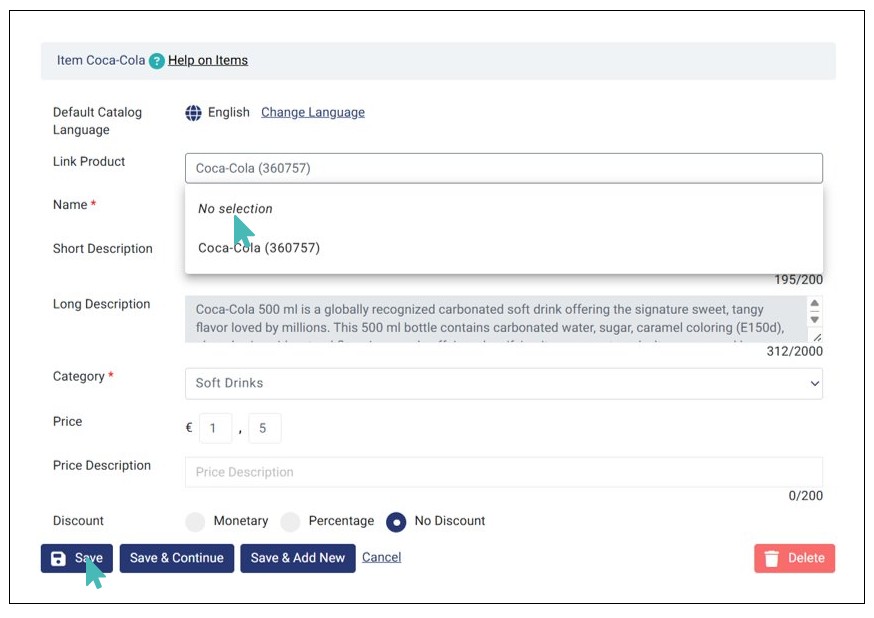
- Click the Link Product dropdown to select the product you’d like to link to your item. Note that all reusable products created on the store will appear on the dropdown menu.
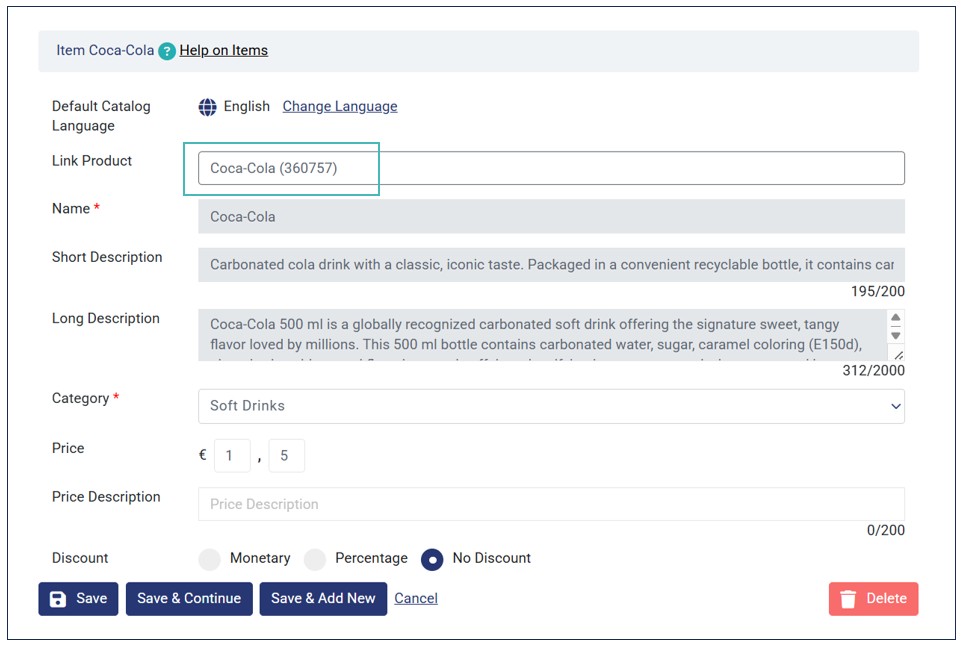
- Once selected, the product details (i.e., descriptions, characteristics, image, nutrition info, etc.,) will automatically load on the respective item fields, overwriting existing data on all fields.
- Upon clicking Save, the item is successfully linked to the product. Therefore, it will be available on the customer menu and can be ordered. However, if you’d like to change the price, you can do so and save the changes.
Note When Linking Product to Items/Options
- Once you link a product to an item/option, it will inherit its properties, such as name, short & long descriptions, characteristics, nutrition information, and more.
- The Price field remains editable on the item/option level. This ensures you can reuse a product while tailoring the price based on the store’s pricing strategy, location, or other price-defining factors.
- Products (reusable) are not visible on the customer menu if not linked to an item/option. Only you (store user) can view them on the Products tab in the Catalog page.
- Customers can order an menu item/option linked to a product, just like other menu items.
Link Product to Options
Just like in items, you can link products to option(s) in your store. In doing so, the option inherits key details from the product, saving time and effort needed to manually enter option details.
To link a product with an option, follow these steps:
- Go to Catalog on the side menu and click Option Groups.
- Find the option group with the option you would like to reference to a product.
- Next, click Add Option (if you want to link a product to a new option) or use the edit icon on an existing option (to link product with an existing option).
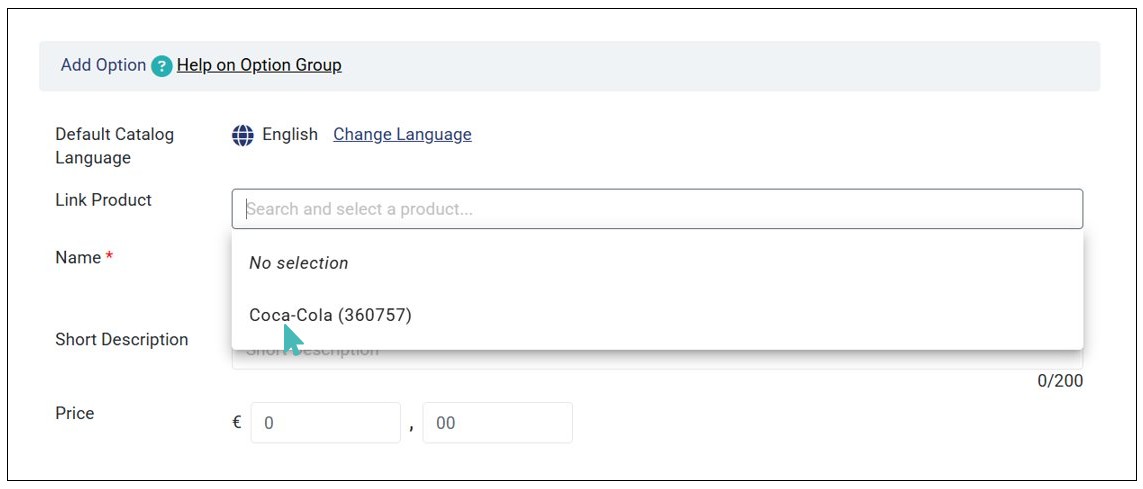
- Click the Link Product dropdown on the option details page and select the product you’d like to reference.
- The product details will automatically populate on the respective fields on the option. You can edit the option price the desired amount and click Save.
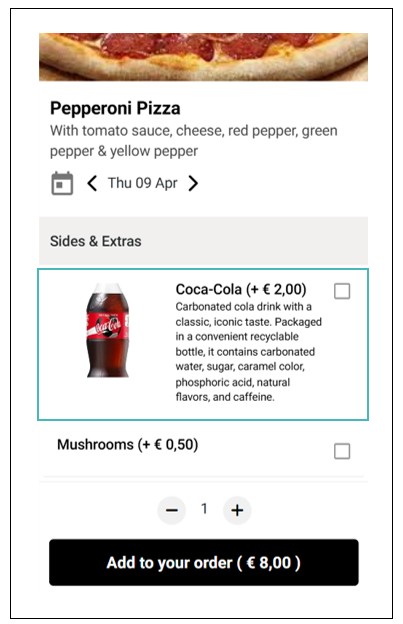
- Once saved, the option will appear on the item details page of the item it is associated with on the customer menu.


Which Item/Option Details are Resolved from the Referenced Product?
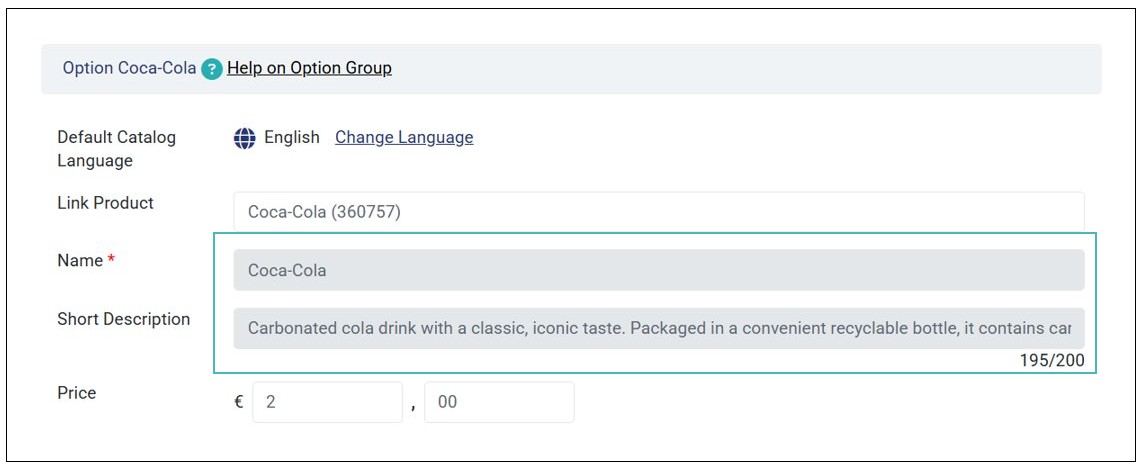
When you link a product to an item/option, several fields are resolved from the referenced product. This means, you cannot edit them at the item or option level. In case you want to make a change, you must do it at the product level so that it is propagated across all linked items and options. These fields are:
- Name
- Short Description
- Long Description
- Image
- Allergens & Characteristics
- Nutrition information
- Translations
Here’s how the above item/option fields look like when you link a product.
Note
- Once you link product to an item or option, the above fields become read-only at the item/option level. Therefore, you cannot add, update or delete them at the item/option level.
- Changes made at the product level are propagated across all items and options referenced to the product.
Linking Products to Items/Options in a Multi-Store Setup
Linking products to items/options isn’t limited to single stores. In fact, if you run a multi-store business selling similar products, you stand to benefit the most from reusable products. You can create products once at the parent store and link them to items and options on children and grandchildren stores. This can significantly improve catalog management across the entire chain.
The process of linking products with items/options in a multi-store setup is the same as described on the Product Linking Section. However, there are several rules that you should know when linking products with items/options in multi-stores.
Rules that Apply When Linking Product to Items/Options in Multi-Store Setups
- When there is a multi-store setup, the parent store, descendant stores can reuse Products created at the parent or grandparent level when they create Items/Options and choose to Link Product.
- Product linking is possible regardless of whether catalog inheritance or catalog sharing is enabled for the stores in a multi-store setup.
- When linking is permitted, product lookup considers Products from the current store plus eligible parent or grandparent stores. However, the Products tab on the Catalog page always displays locally created product list.
- After removing/unlinking the multi-store setup:
- Existing linked Items/Options in child stores continue to resolve from the parent/grandparent Product and remain editable for local fields such as price and visibility.
- Child stores cannot create new references to parent/grandparent Products.
Unlink Products from Items or Options
You can unlink a product from an item/option by choosing the No selection option on the Link Product dropdown and clicking Save.
When you do so, the information on the item/option details page from the previously linked product is retained. However, you can edit these details as you wish as they are no longer read-only.

Delete Products from Your Store
GonnaOrder allows you to delete reusable products in your store whenever necessary. However, the product must not be linked to any store item or option. Therefore, if you wish to delete a product, you must unlink it from all items/options it is associated with.
Here are the steps to follow to delete a product:
- Go to Catalog on the side menu and click the Products tab.
- Click the product you would like to remove from your store.
- Click Delete on the Product details page and confirm the deletion by clicking OK on the dialog box that appears.

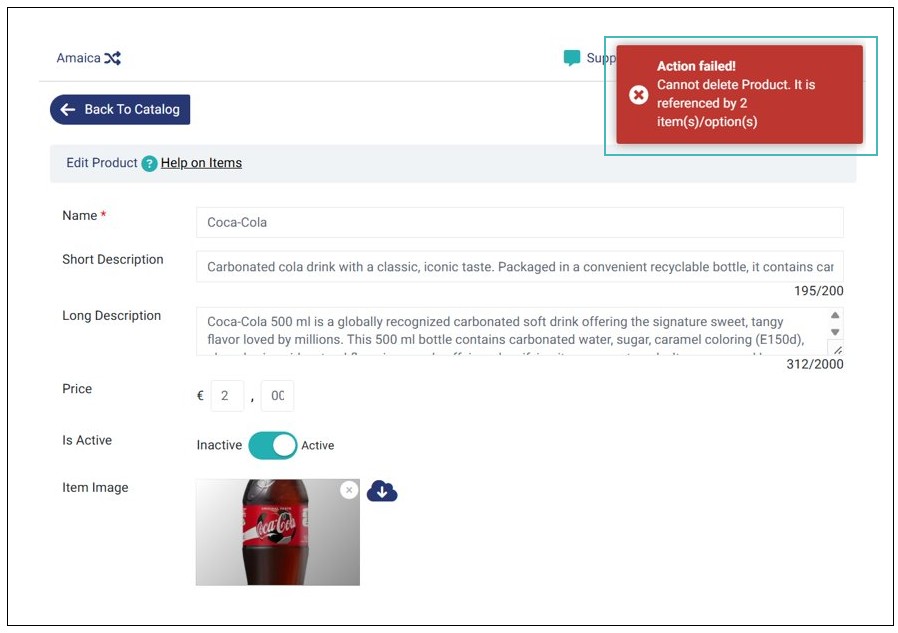
However, if you attempt to delete a product linked to an item or option, you will get an error informing you of the same.
Note
- You cannot delete a product if it is still linked to a store item or option. Therefore, you must unlink all items and options associated with a product before proceeding to delete it.
- Unlike products, you can delete an item or option that is linked to a product.