Wrapp is a digital invoicing and receipt platform certified for myDATA compliance in Greece. This platform is designed to automate the submission of invoices and retail receipts to tax authorities. Connecting your GonnaOrder store with Wrapp enables you to automatically generate and issue legal invoices for orders paid online. This can streamline compliance with tax authorities while providing a smooth invoice generation process.
Note
- Wrapp is only available for Greece-based stores.
- Invoices are only generated/issued for orders paid online.
- As a rule of thumb, ensure you set VAT percentage at the catalog or item level to ensure tax compliance.
| Website | https://wrapp.ai/ |
| Company Logo |
On This Page
- How to Connect Your Store to Wrapp
- Configure the Required Invoicing Settings
- Generate/ Issue Invoices on Orders
- Disable/ Disconnect Wrapp from Your Store
ow to Connect Your Store to Wrapp
Here are the steps to follow to integrate your store to Wrapp:
- Go to your store Settings > Integrations.
- Scroll down the available integrations to find the Wrapp integration section. Note that this integration is only available for stores in Greece.
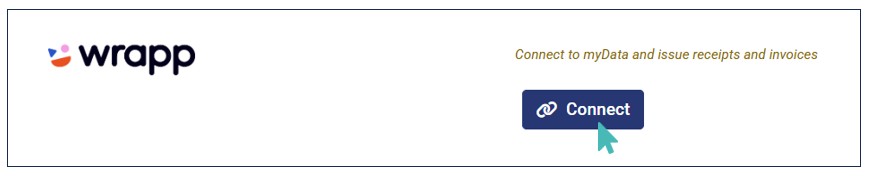
- Click Connect to initiate the integration process.
- Provide the required integration details that is, your Wrapp Email and API Key, and click Connect.
- If the details provided are correct, your store is successfully connected to Wrapp. Note that the API Key is automatically hidden once the integration is successful, leaving only the email parameter visible.

Configure the Required Invoicing Settings
Before you can start issuing legal invoices with Wrapp, you must configure the required invoicing parameters. To provide these parameters:
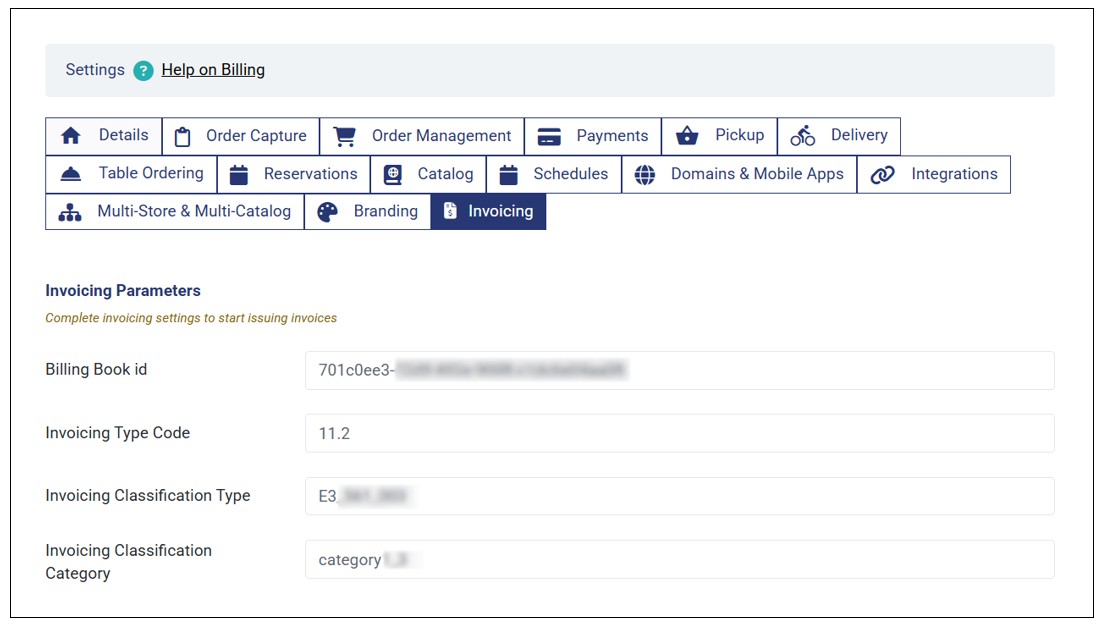
- Go to your store Settings > Invoicing.
- Enter all the invoicing parameters in the respective fields. These parameters are:
Billing Book Id
Invoicing Type Code
Invoicing Classification Type
Invoicing Classification Category
- Once you set every parameter, you can start issuing invoices.
Note
The Invoicing settings tab is only visible after connecting your store with Wrapp.
You can only manage the invoicing parameters from the Invoicing tab. Therefore, the Connect and Disconnect actions on the Wrapp integration section do not auto-fill or clear these fields.
Generate/ Issue Invoices on Orders
With every requirement for issuing invoices with Wrapp set, you can generate/issue an invoice for every order submitted and paid online. Here are all the conditions that must be met to be able to issue an invoice for an order.
Your store must have Wrapp Connected and Active on the Integrations settings.
You must provide all invoicing parameters under Invoicing settings.
The order must be paid online – cash and other offline payment methods do not qualify for issuance of invoices.
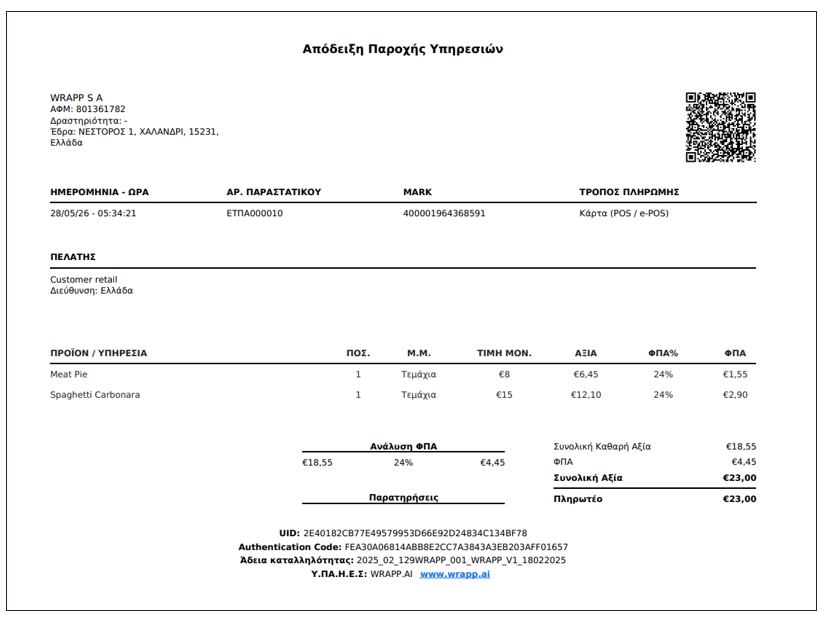
Invoice Generation Process
When a customer submits an order and pays for it online, an additional Invoice button appears on the order details.

You can click the button to download the legal invoice for the order. Here is how the invoice looks like:
Deactivate/ Disconnect Wrapp from Your Store
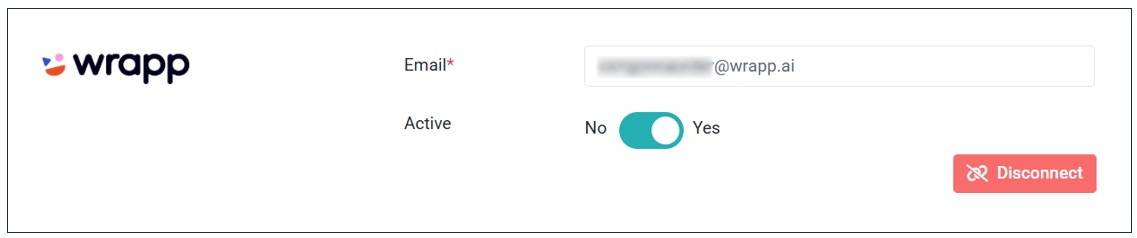
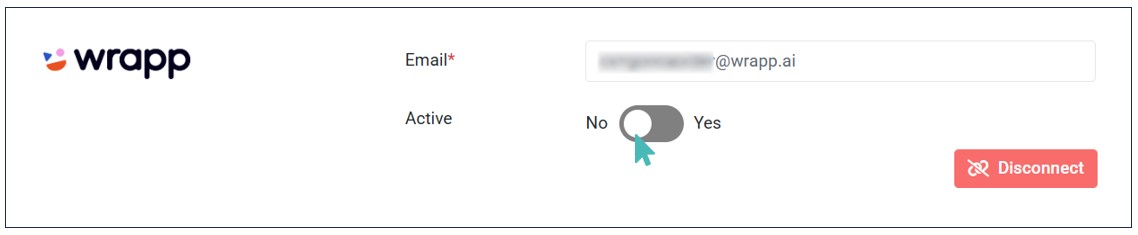
If you no longer wish to automatically generate/ issue legal invoices with Wrapp, you can deactivate or disconnect Wrapp from your store. For deactivation, all Wrapp integration details remain saved in the store. Also, the Invoicing tab under store Settings remains visible.
Simply switch the Active toggle to No to deactivate the connection.
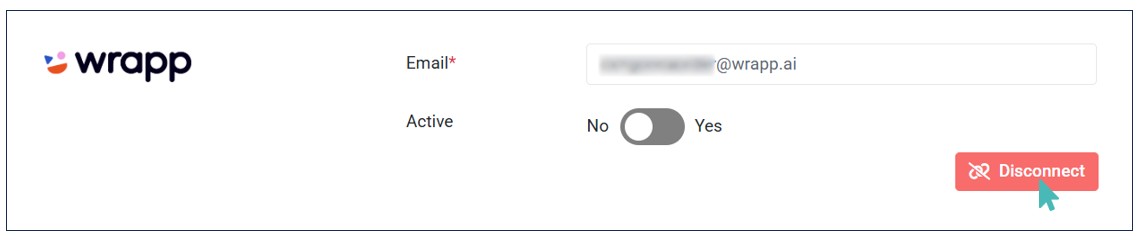
Unlike deactivating Wrapp, disconnecting Wrapp removes the integration details from your store. Additionally, the Invoicing tab under store Settings is hidden after wrap disconnection. However, the invoicing parameters remain saved, should you opt to reconnect again the future.
Click the Disconnect button on the Wrapp integration section to delete the integration and its details.